Weekly roster & PDF
A clean, printable roster for the wall or the inbox.
What it looks like
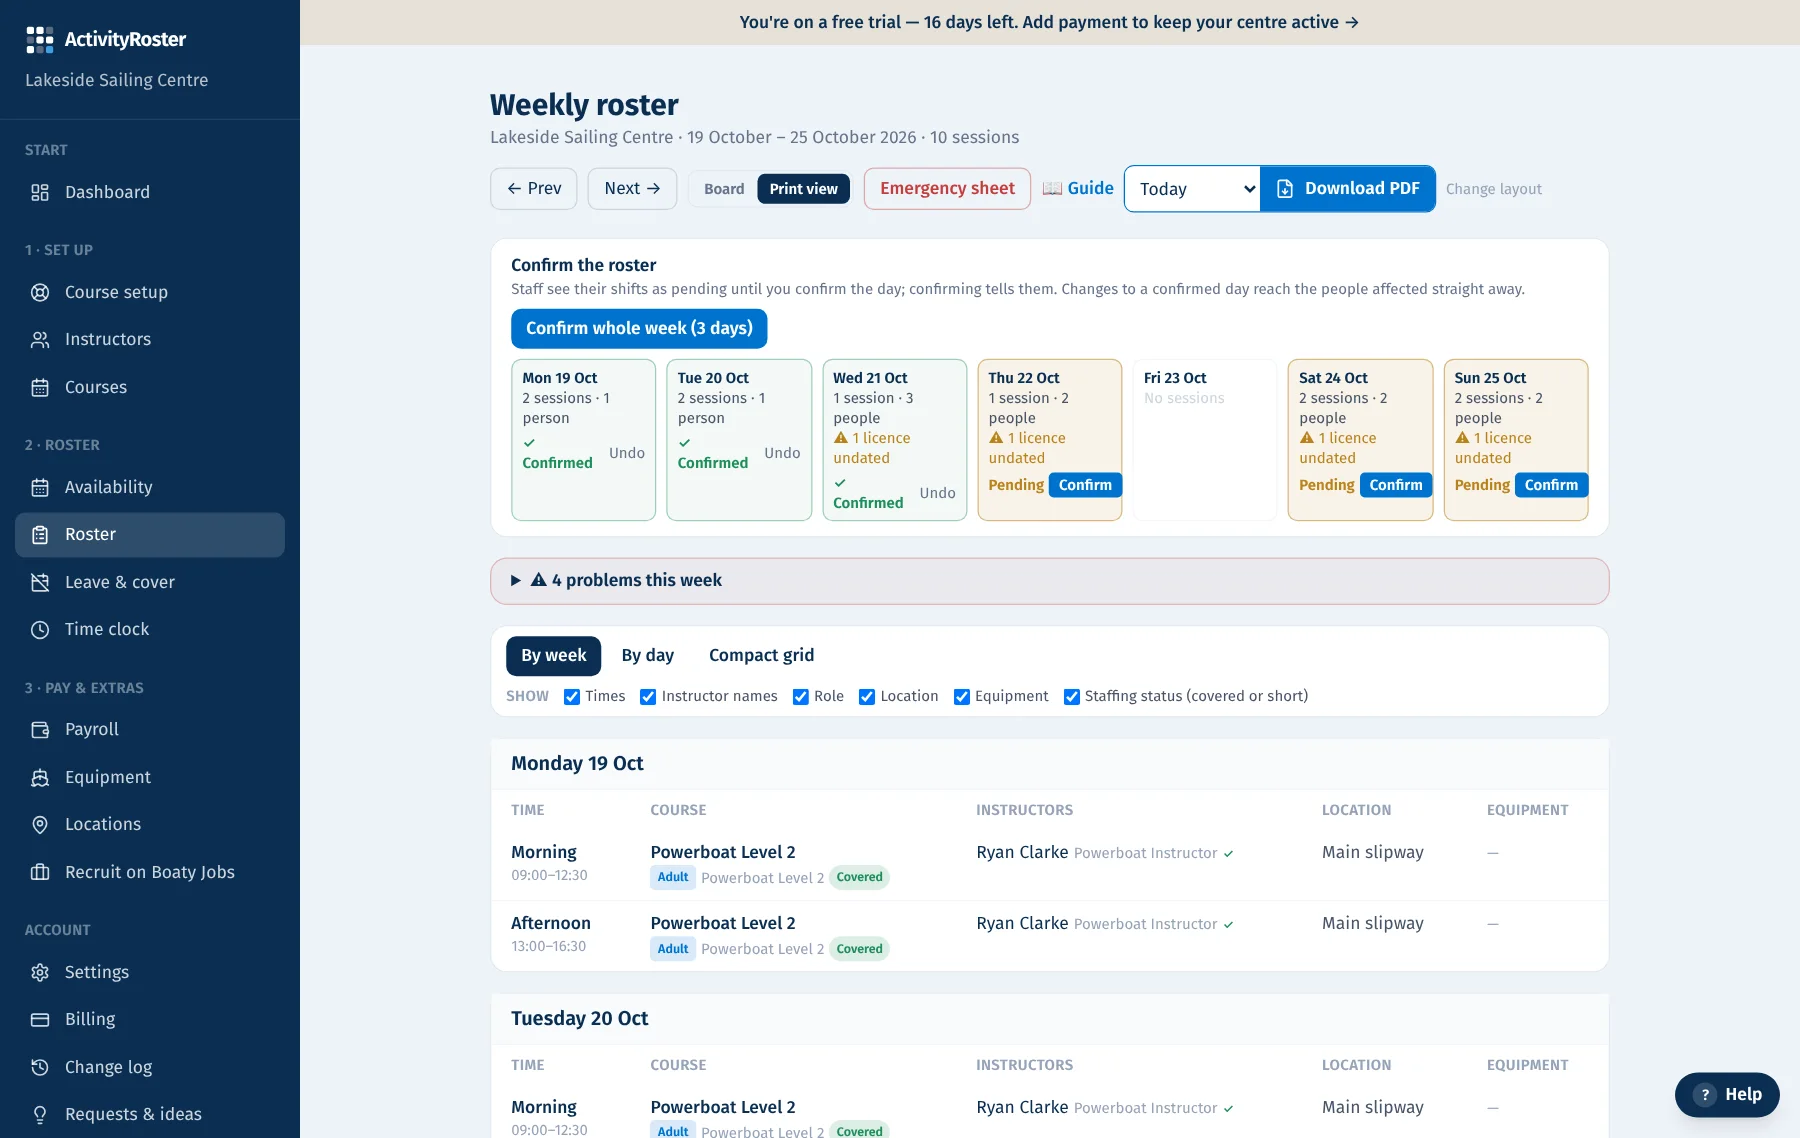
Screens from a made-up centre. Click any screen to see it full size.
The Roster page shows the whole week: each day, each session, who's working, their role, the location/classroom and the times.
Confirm each day
- 1Build the week: put instructors on courses. As soon as someone is assigned they see the shift in the app marked Pending. Nobody gets a message yet, so you can move people around freely.
- 2On the Roster page, the strip above the board shows each day: Pending or ✓ Confirmed, how many sessions and people, and any sessions still short of staff. Press Confirm on a day, or “Confirm whole week” for every pending day at once. A day still short of staff asks you first, and so does a day with someone on it who has no expiry date on any of their tickets (the day shows “⚠ undated”), because the app can't warn you if that ticket has lapsed. Add the dates on Instructors, then confirm. For your first week, confirm one day at a time and watch who accepts.
- 3Confirming tells everyone on that day: a notice in the app, and an email if they allow it, listing their shifts. In the app the shift turns to Confirmed. Messages go out in the background, so the page doesn't wait.
- 4Changing a confirmed day? It stays confirmed, and anyone you add, take off or move is told straight away.
- 5Need to rework a day? Press Undo on it: it goes back to Pending and nobody is told. Make your changes, then confirm it again: only the people whose shifts changed hear about it.
- 6Want staff to accept their shifts too? Settings → Checks → “Ask staff to accept or decline their shifts”. Then, once a day is confirmed, each person taps “I'll be there” or “Can't make it” with a reason; you get an email, the course shows “can't make it” and the dashboard counts it under Awaiting replies. Off by default: confirming the day is enough.
The PDF
“Download PDF” on the Roster page produces a proper document, not a picture of the screen. It is a breakdown of each day: a row for every course, with the course name on the left, then its times, then who is working, then any extras you have turned on (number of students booked, location, equipment, staff roles). Pick the period beside the button: one day, the week, or the whole month. The columns, the style (Classic, Bold, Minimal or Compact) and portrait or landscape follow what you chose when you set up, and you can change them any time under Settings → Roster PDF.
Want it to look like the roster you use now? In setup, or under Settings → Roster PDF, upload an example: a PDF, or a photo of the one on the wall (PDF, PNG, JPEG or WebP, up to 10 MB). We'll set up your downloadable roster in the same style and layout and let you know when it's ready. The standard layout works meanwhile. The example is kept in your centre's private file space.
- What goes on it — tick start and finish times, locations, instructors, their roles, and equipment. The course name and date are always there.
- Vertical — portrait pages with a table for each day. The classic noticeboard roster.
- Horizontal — landscape pages with the days across the top and each session as a small card. Better when you show a lot of detail or run big courses with many staff; a month becomes a calendar grid.
- Names — staff appear by first name. If two people on the sheet share a first name, each gets the initial of their surname.
On screen, the “Show” tickboxes switch fields on or off and the three on-screen views (by week, by day, compact grid) are remembered on this device; they do not change the PDF.
- Move between weeks with the navigation — past or future.
- Print / Save-as-PDF produces a tidy one-page roster for the wall or the inbox — the layout is designed for it.
- Export the week's hours to CSV for payroll straight from the roster.
- Unassigned or under-covered sessions are clearly marked so nothing slips through.