Importing courses
Bring your existing schedule in from a spreadsheet or calendar.
What it looks like
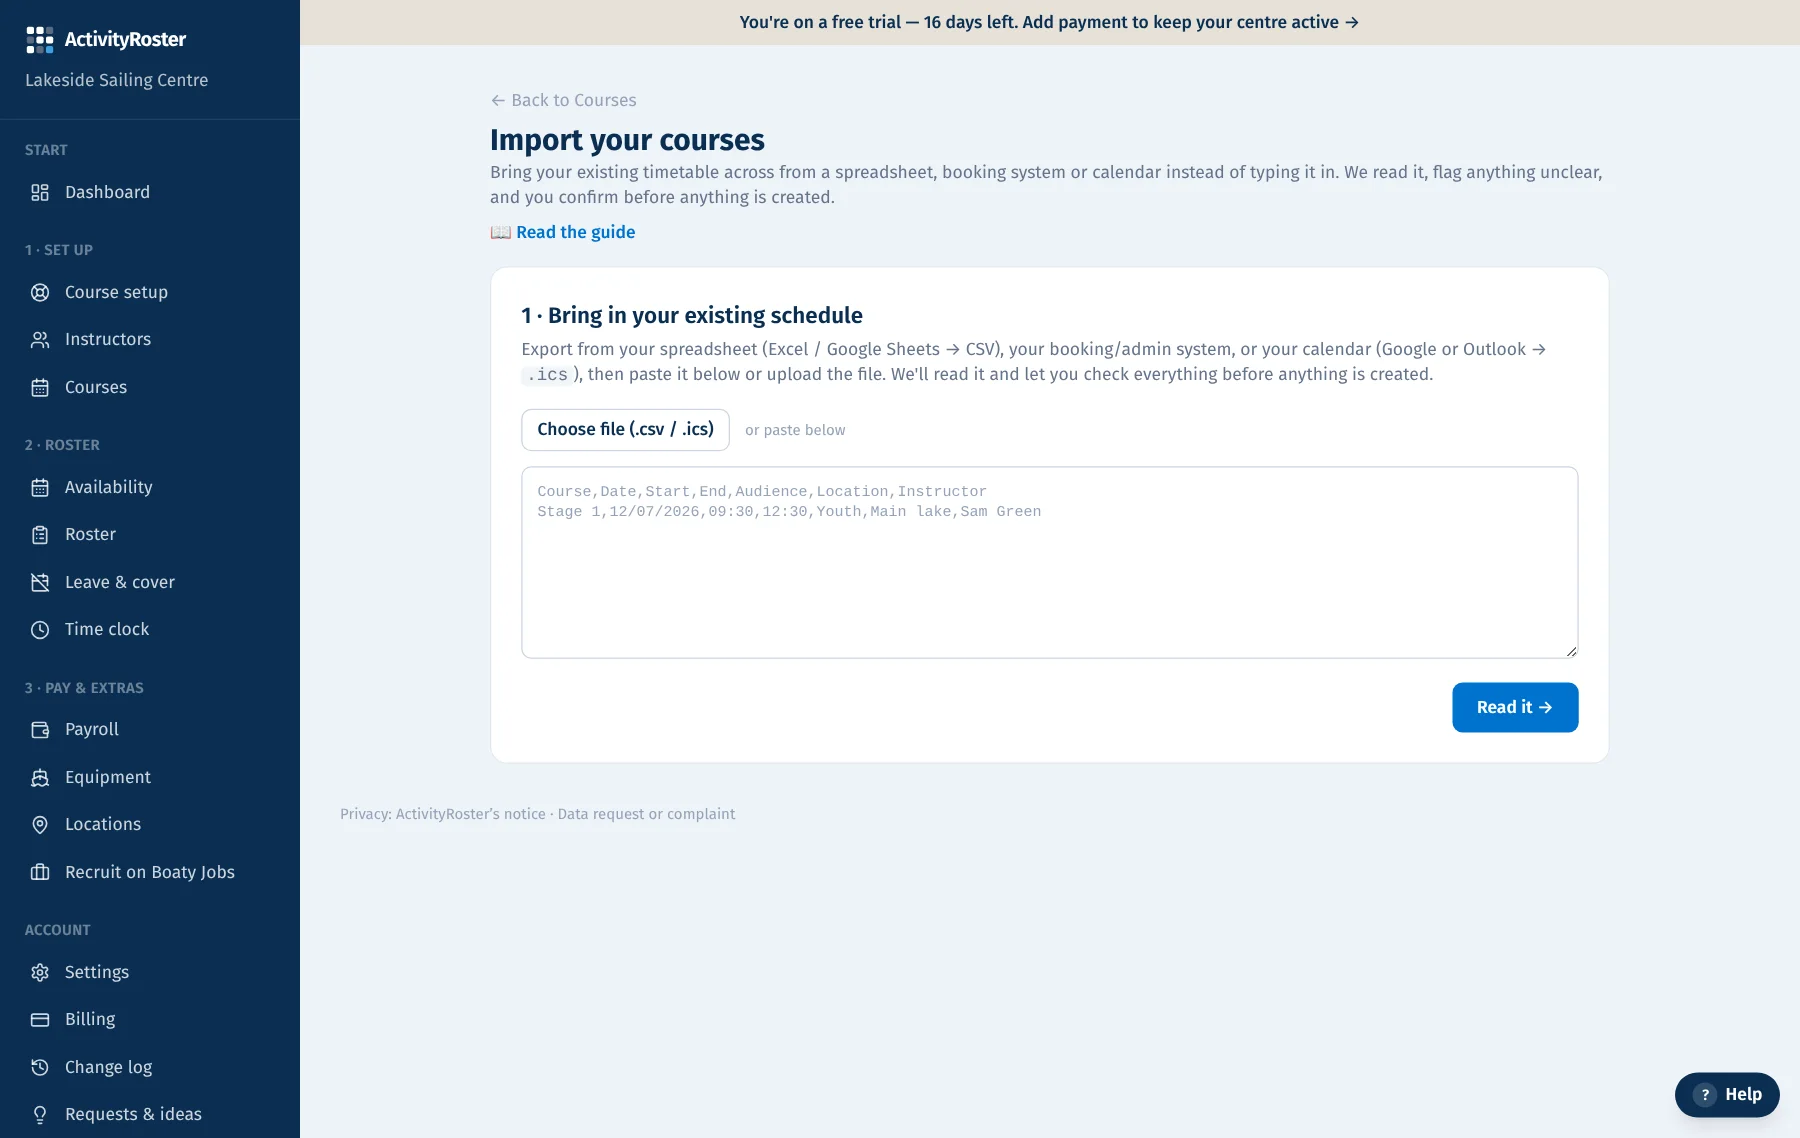
Screens from a made-up centre. Click any screen to see it full size.
On the Courses page use “Import from spreadsheet / calendar”. You can paste or upload a CSV, or an .ics calendar file.
- 1Upload or paste your data.
- 2We detect the columns (course, date, time, audience) automatically and turn each row into a draft session.
- 3Review the drafts — anything uncertain is flagged so you can correct it before it's saved.
- 4Check the Type column. Booking systems rarely use exactly your names, so we match each course to your closest course type (e.g. “RYA Stage 1 – Summer Week” → Youth Stage 1). Anything marked “no match” you can file under the right type, add to your list, or keep as a one-off.
- 5Confirm to create the courses and sessions.
Tip: Import the whole season in one go. When new courses come in, import the updated spreadsheet again: any course already on the calendar (same name, day and start time) is skipped and left as it was, so only the new ones are added.
Start my free monthEvery centre gets the whole platform — explore each topic to see what's included.