The roster board
Build and fix the week on one screen: courses by day, or people across days.
What it looks like
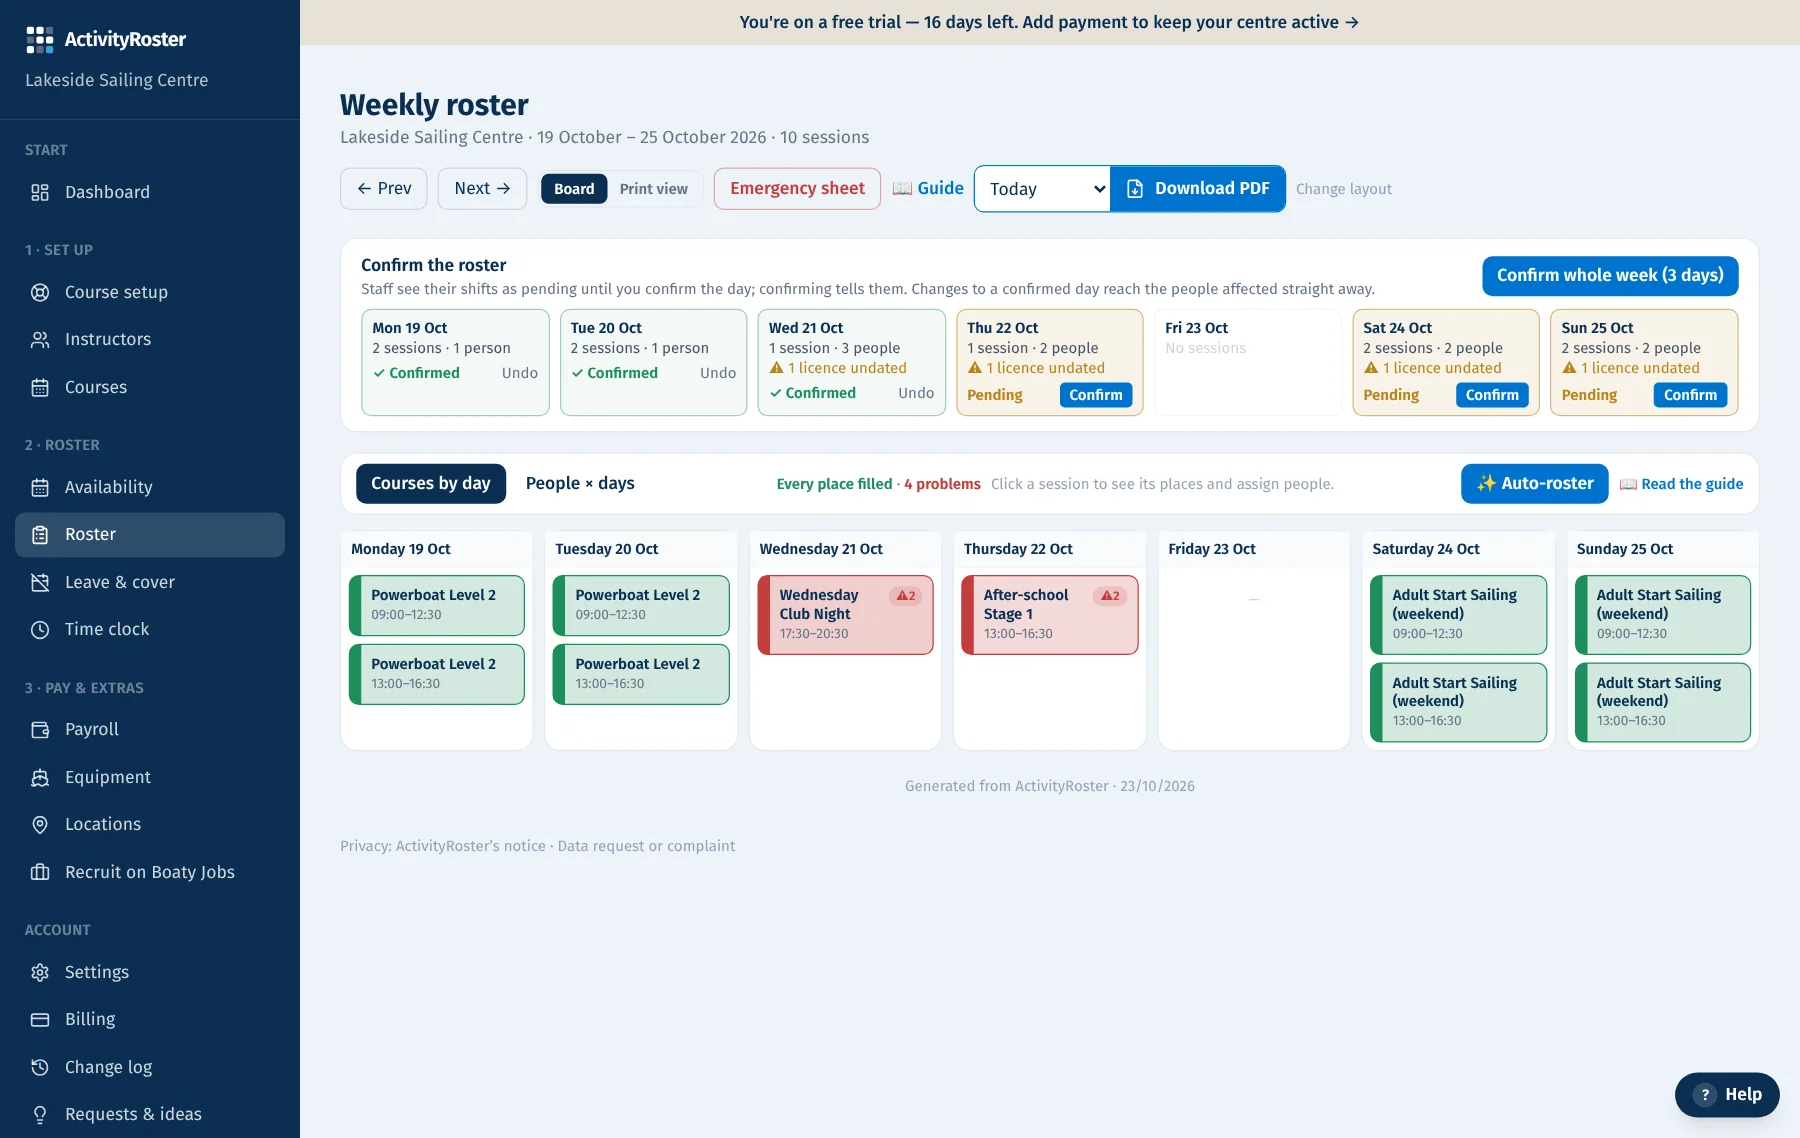
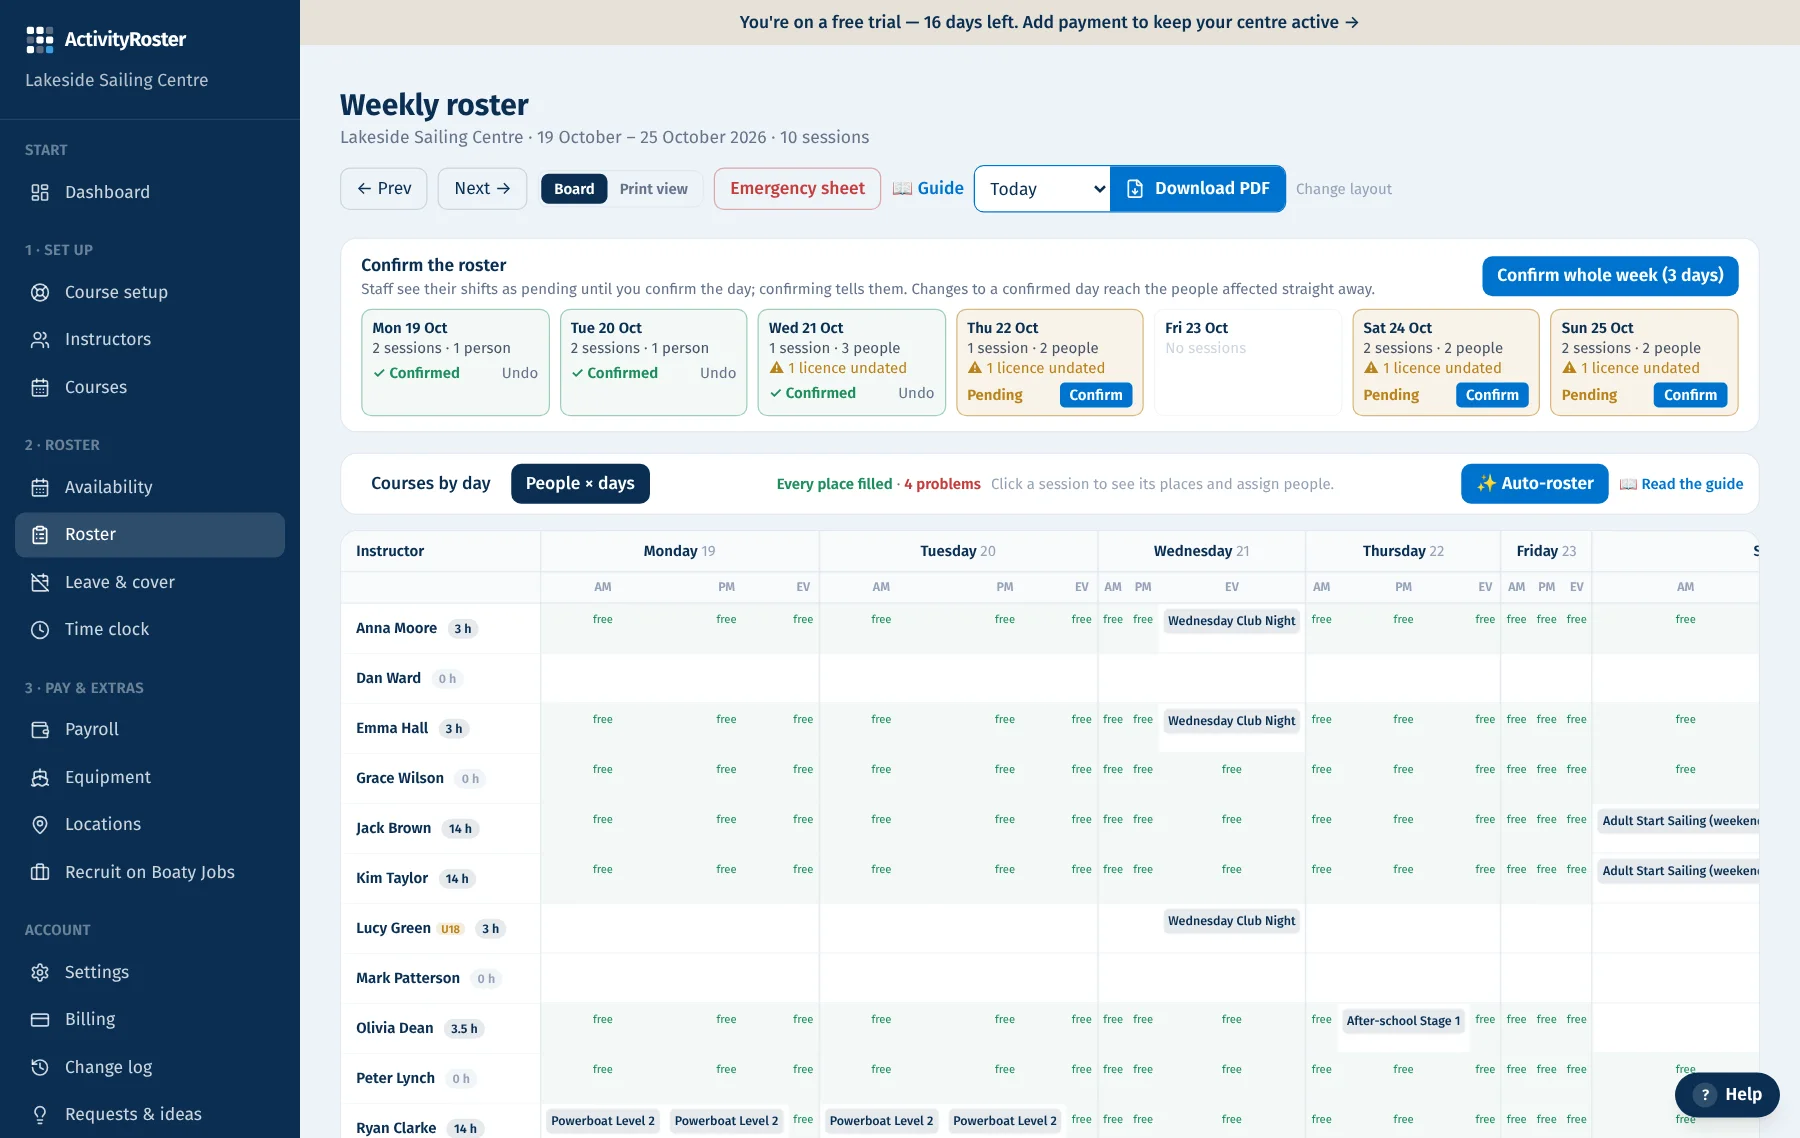
Screens from a made-up centre. Click any screen to see it full size.
Keyboard shortcuts on the roster week: ← and → (or [ and ]) move a week, T goes to this week, P switches between the board and the print view, E opens the emergency sheet, and ? shows the list. Press ⌨ Shortcuts under the week to see them.
The Roster page is where the week is built. “Courses by day” shows each day's sessions as cards with who's on them and the places still open; the people list on the right shows everyone's availability for the slot you've clicked. Drag a person onto a session, or click a person and then a session. “People × days” turns it round: a row per instructor, a column per day and slot, free slots tinted green, and beside each name the hours they are rostered that week.
The side panel
- Click any session to see who's on it (confirmed, unconfirmed, can't make it, this day only), the places still open and the week's problems for that session.
- Add someone: the picker shows their availability for that slot, whether they're cleared to roster, and whether they fit the place (its instructor type, or higher on the same ladder) and the course. On a multi-day course choose “This day only” or “Whole course”.
- Remove, or on a multi-day course “skip this day”.
- If the person you picked has a block (Busy, not cleared, not qualified for the place or the course) the button reads “Assign anyway”: press it to put them on regardless, and the override and its reasons are recorded. The issue stays shown under their name. If they are already on another course in that slot you get “Move here” (off the other course for that day, onto this one) or “Keep on both” (the clash is recorded).
- Pick people for several places first if you like: someone picked for one place leaves the other lists, and “Assign all” puts everyone on in one request.
- “Edit students & places” changes the places the course needs: the drop-down lists the instructor types that teach the course, with “Other instructor type…” for the rest. Remove a place or lower its number while people fill it and you choose who comes off, with any problem shown beside each name. With every place removed the course needs nobody; the ratio's suggestion only applies to a course whose places were never set.
- “Print view” keeps the three printable templates, the PDF and the emergency sheet.